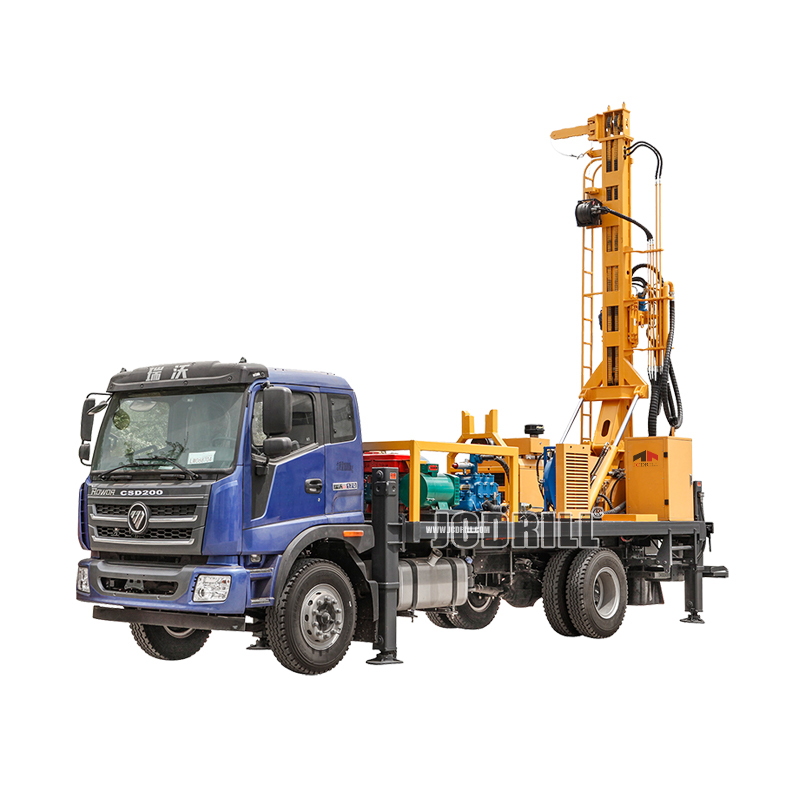
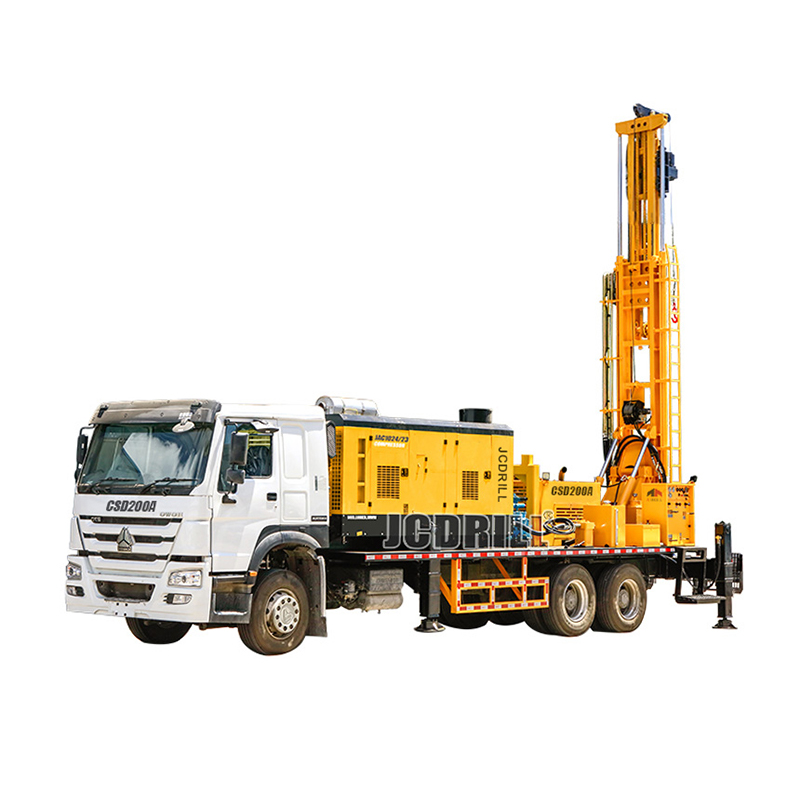
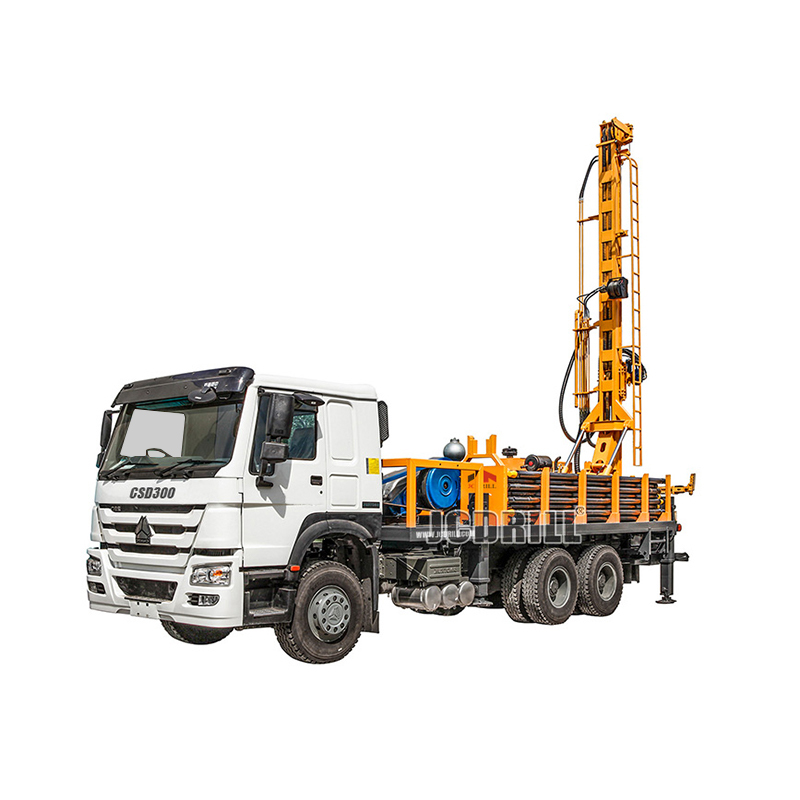
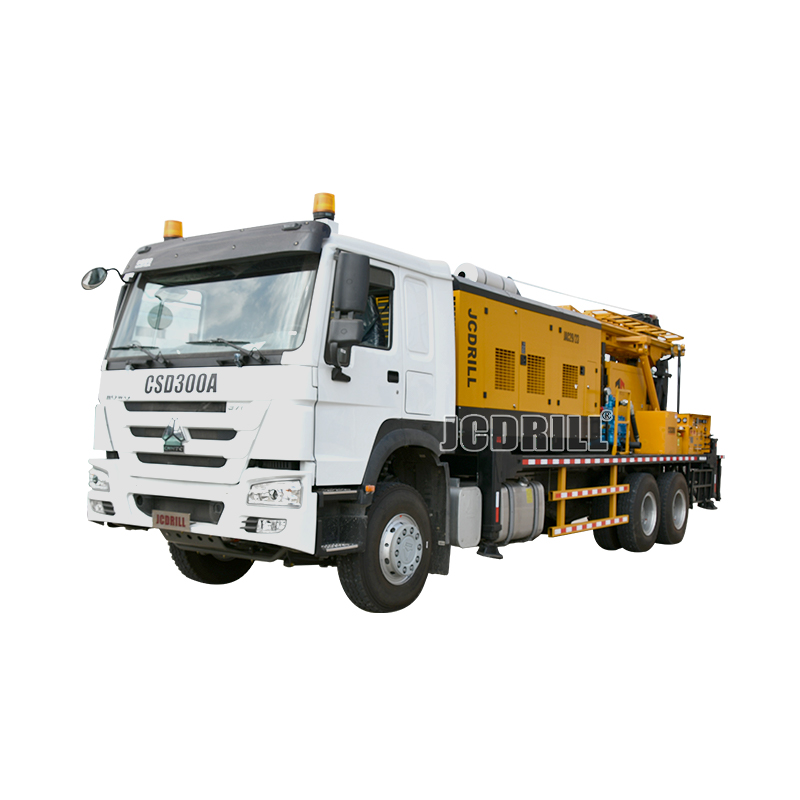
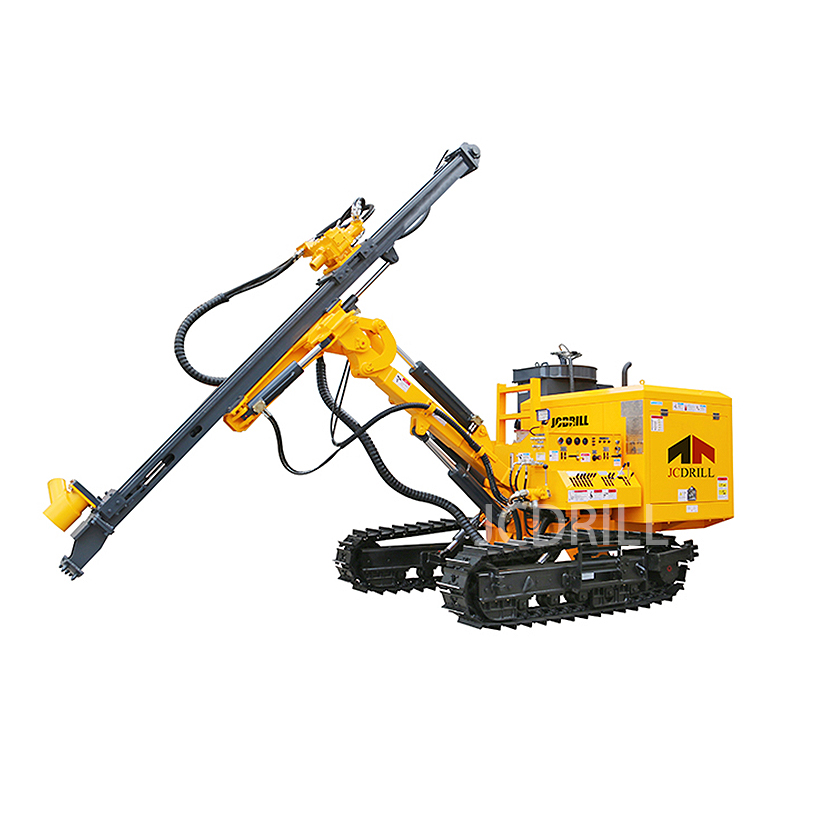
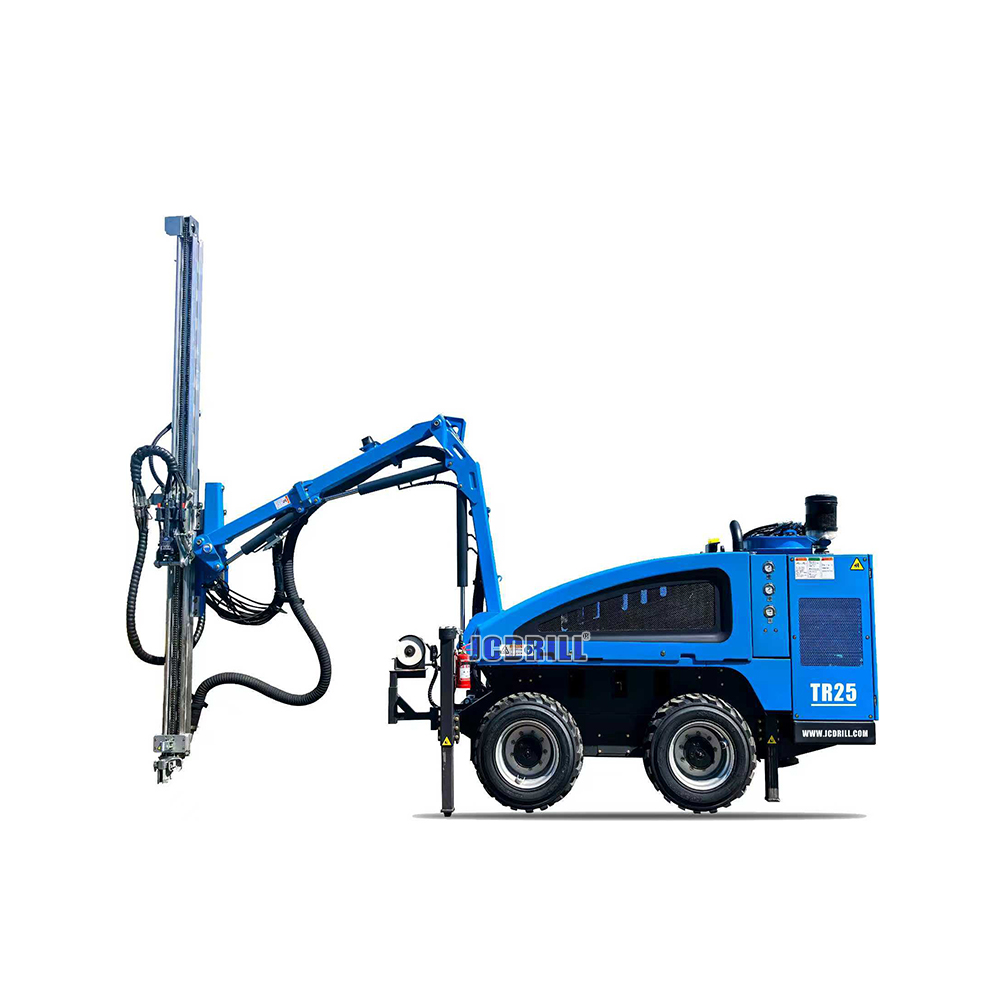
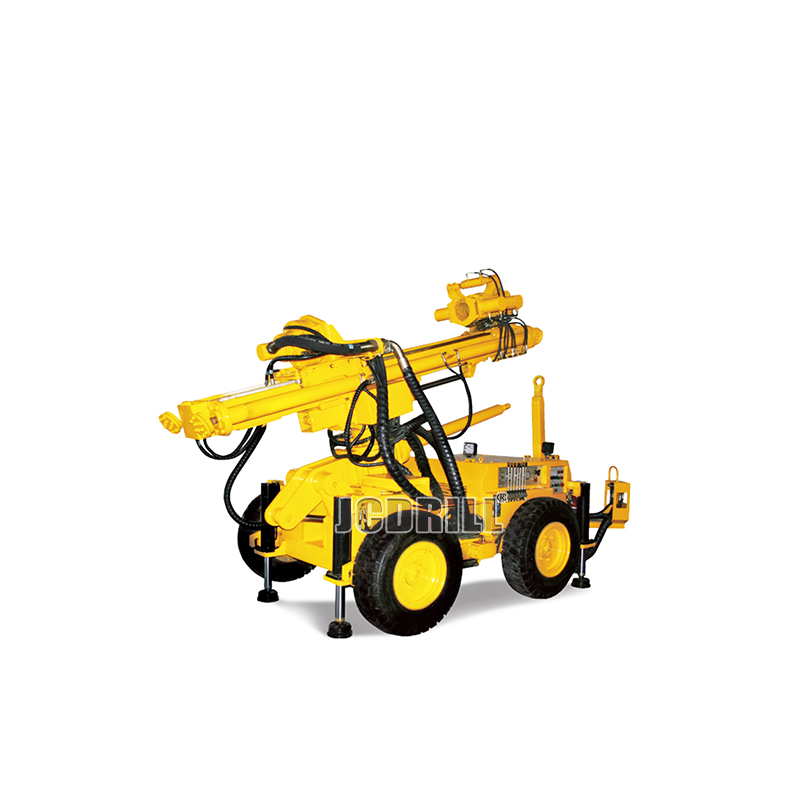
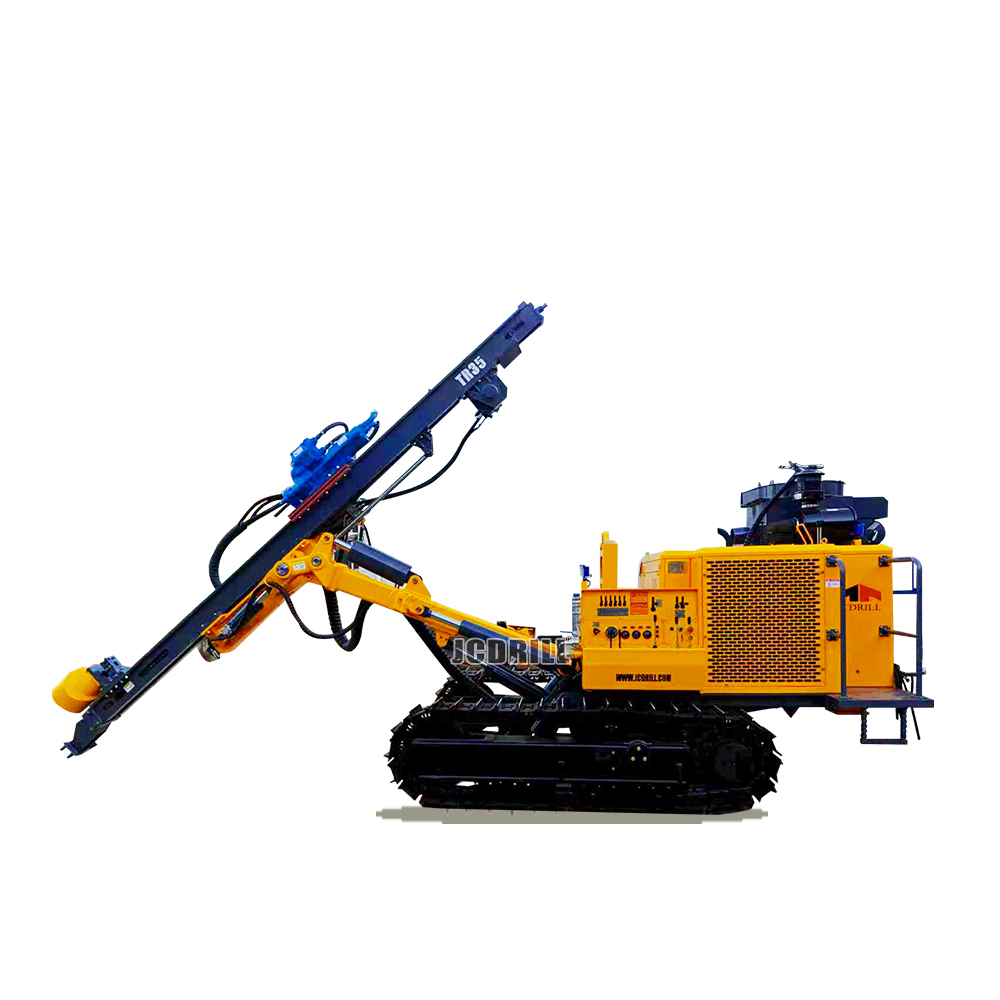
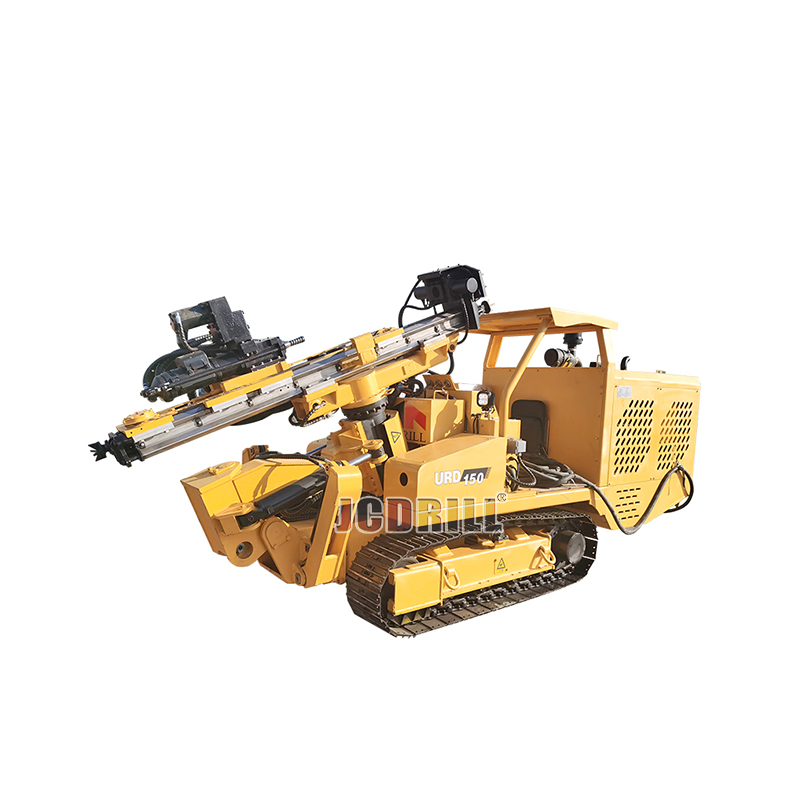
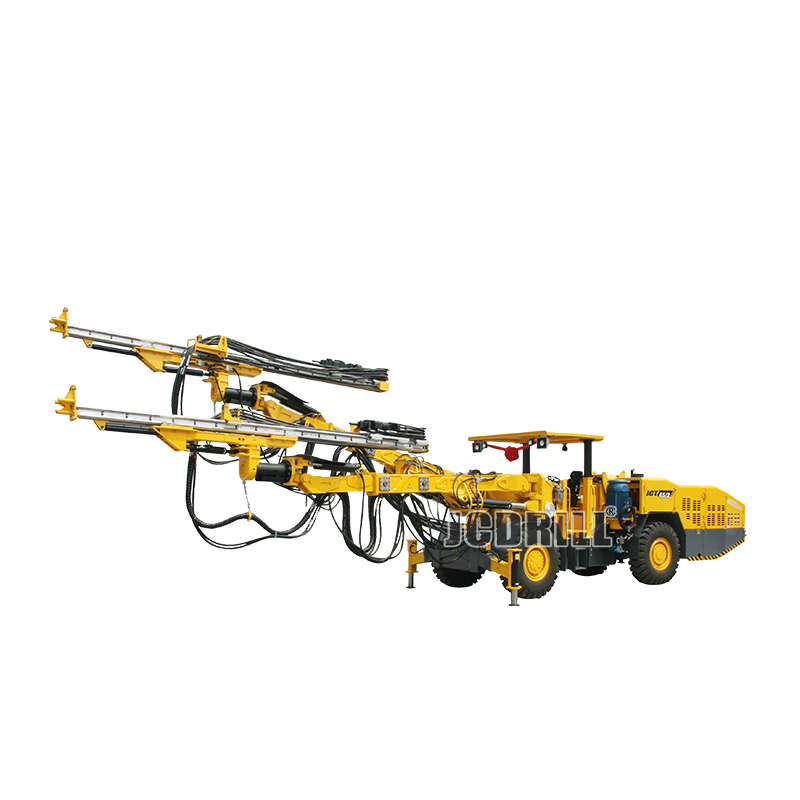
Keeping your water well drilling rig running smoothly is crucial for project timelines and profitability. Even the most reliable equipment can encounter issues. Understanding common problems and knowing how to respond can minimize downtime and prevent costly damage.
This guide outlines frequent challenges and a systematic approach to troubleshooting.
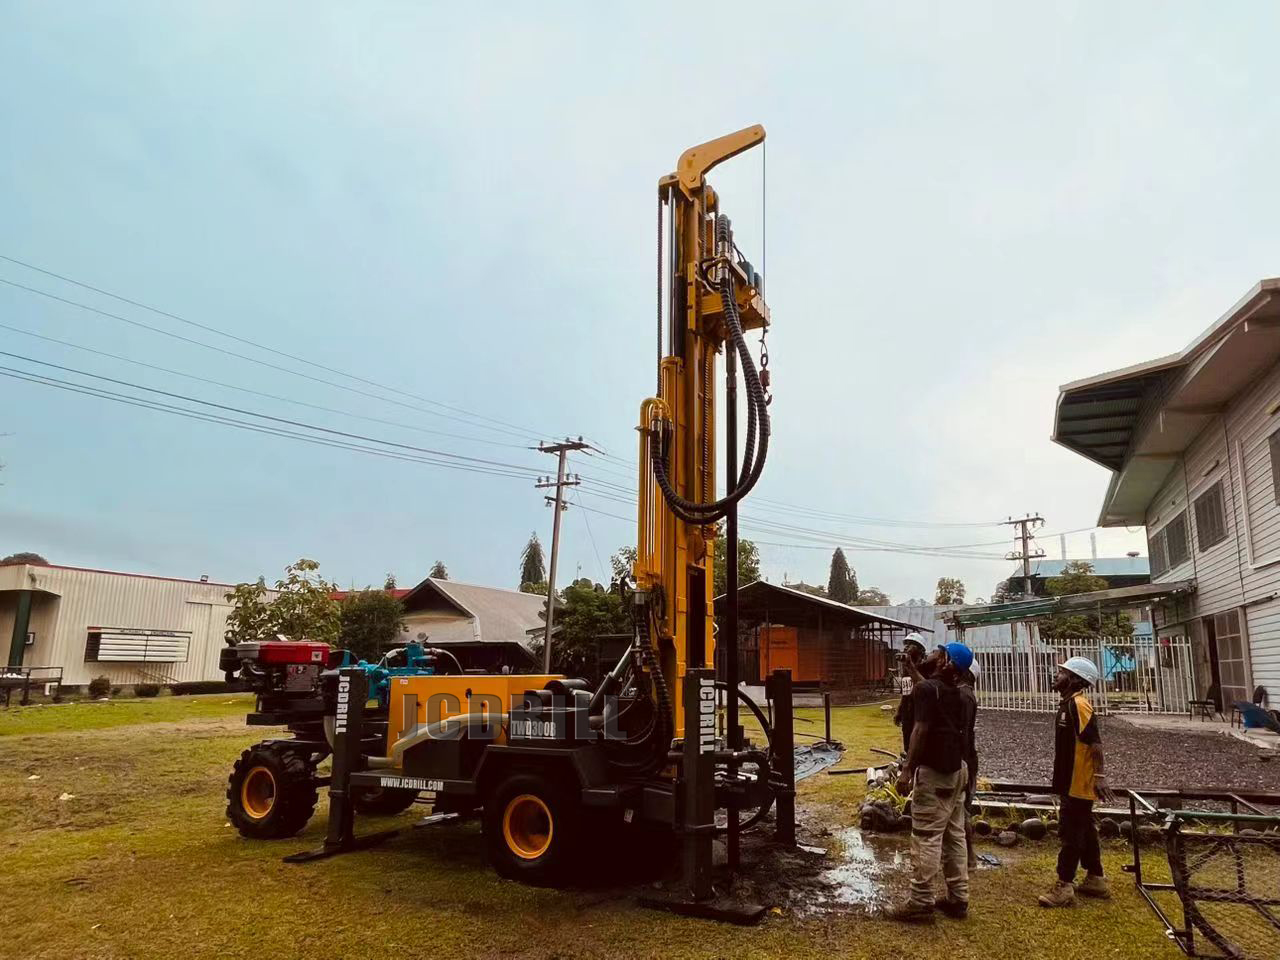
Part 1: Common Problems & Their Likely Causes
Here are some of the most frequent issues drillers face:
1. Loss of Circulation (Lost Drilling Fluid)
What it is: The drilling fluid (mud) pumped down the drill pipe does not return to the surface.
Likely Causes: Fractured/porous rock formations, underground caverns or voids, excessive pump pressure creating new fractures.
2. Drill String Stuck in Hole
What it is: The drill pipe cannot be rotated or pulled up.
Likely Causes: Differential sticking, cuttings bridging, key seating from wellbore groove wear.
3. Drop in Penetration Rate
What it is: The drill bit advances much slower than normal.
Likely Causes: Worn dull drill bit, insufficient weight on bit, encountering hard rock strata, bit balling with sticky clay.
4. Pump Pressure Problems
High Pump Pressure: Plugged drill bit nozzles, blocked drill string or surface pipelines.
Low Pump Pressure: Pump malfunction, circulation loss, suction line leakage.
5. Equipment Vibration or Unusual Noise
Likely Causes: Low hydraulic fluid / air trapped in hydraulic circuit, worn bearings, loose fittings, component misalignment.
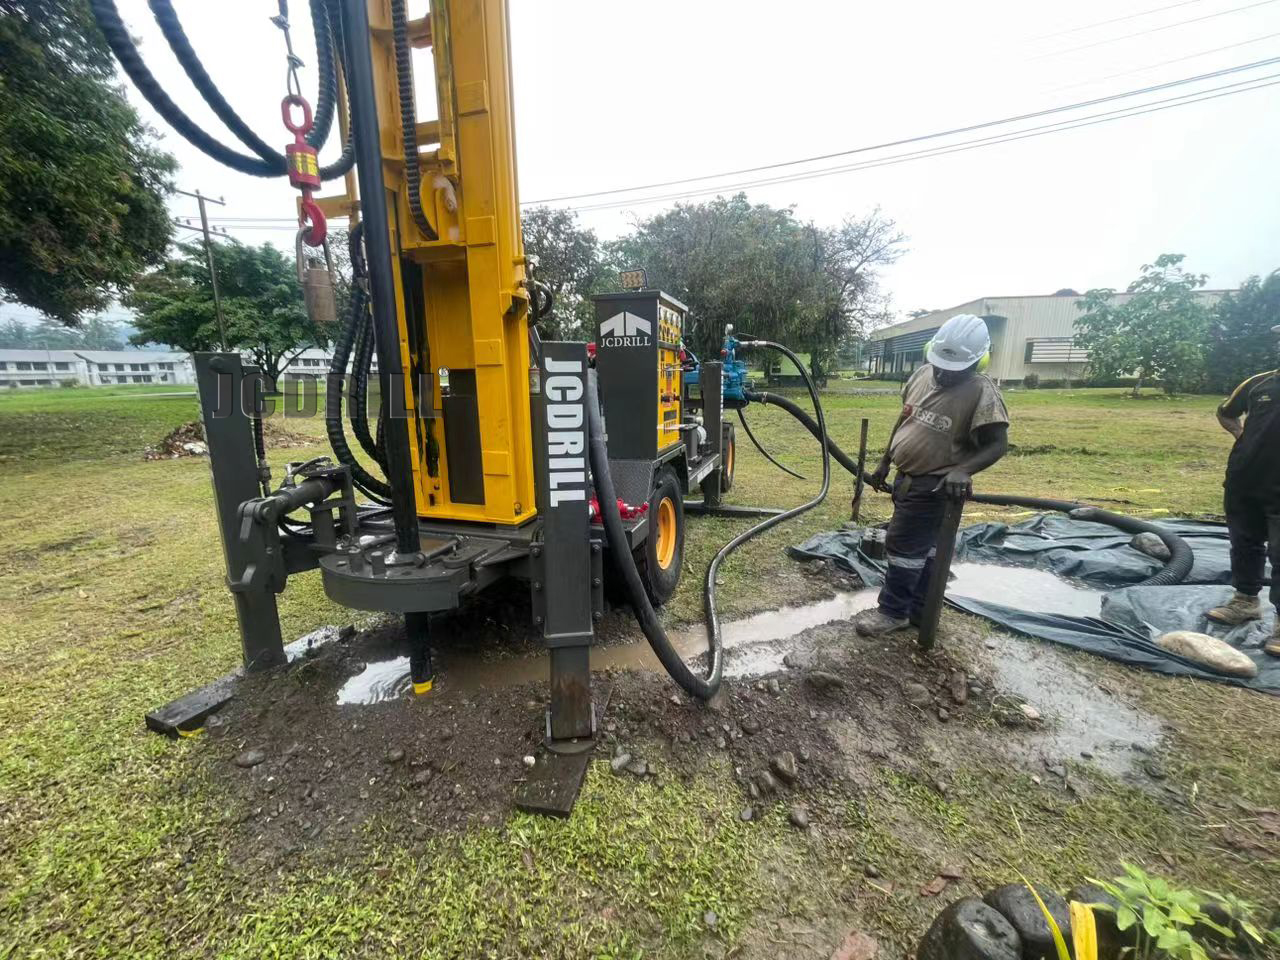
Part 2: A Systematic Troubleshooting Guide
Always prioritize safety! Before starting any inspection, lock out and tag out the rig's power source.
Step 1: Stop and Observe
The moment you notice a problem, stop drilling. Do not force the equipment. Record changes in pressure/torque gauges, abnormal sounds or fluid return status before the fault appeared.
Step 2: Check the Simple Things First (Quick Wins)
Check hydraulic and fuel tank fluid levels
Inspect air, fuel and hydraulic filters for clogging
Visual check for fluid leaks, loose bolts and damaged hoses
Verify electrical circuits for tripped breakers and loose terminals
Step 3: Analyze by System
Low Penetration Rate: Drill bit & weight-on-bit system. Pull drill string to inspect bit, check WOB hydraulics and gauges.
Stuck Pipe: Drill string & wellbore. Rotate and pull gently, circulate mud to clean borehole; avoid brute force.
Abnormal Pump Pressure: Mud pump & drill string. Clear blocked bit nozzles, inspect pump for wear and leakage.
Lost Circulation: Well formation. Halt drilling and add lost circulation materials (LCM) to drilling fluid.
Abnormal Noise / Vibration: Hydraulic & mechanical assemblies. Locate vibration source, bleed air from hydraulics, check component wear.
Step 4: Consult the Manual and Know Your Limits
The rig operation manual contains dedicated troubleshooting charts and technical specifications. For complex faults beyond your expertise, stop operation and contact a professional technician. Unauthorized advanced repairs may create safety hazards and aggravate equipment damage.
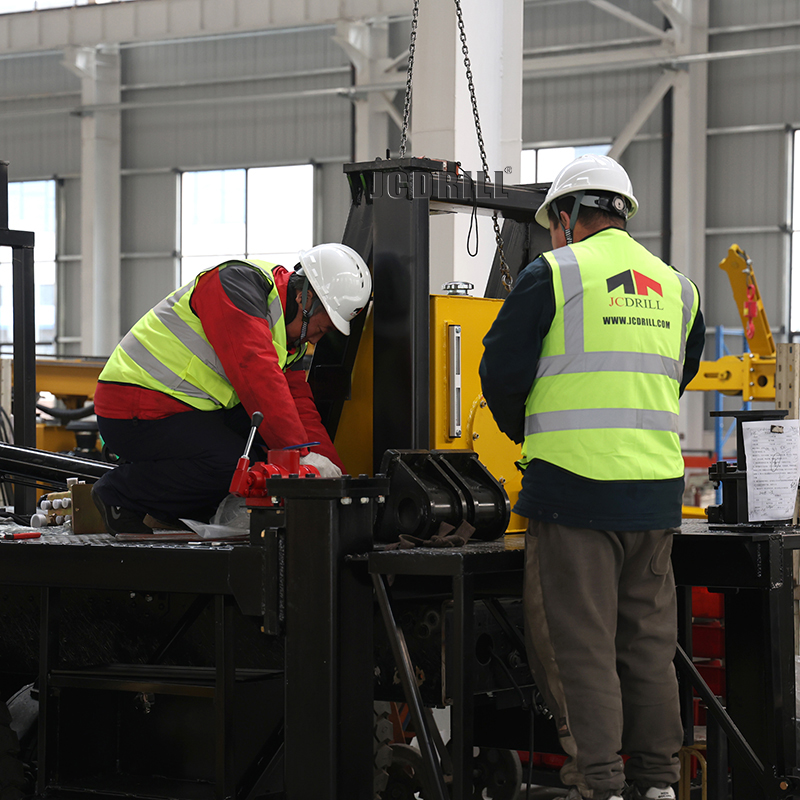
Conclusion: Prevention is Key
The most effective troubleshooting is proactive fault prevention.
Execute strict scheduled preventive maintenance
Use premium, clean hydraulic fluid and fuel
Train operators to identify early warning signs of equipment failure
Mastering these typical malfunctions and standardized troubleshooting procedures keeps your water well drilling rig operating safely, efficiently, and minimizes field downtime.
Stay Safe. Drill Smart.

 |

 Français
 Español
 عربي
 中文